
Description
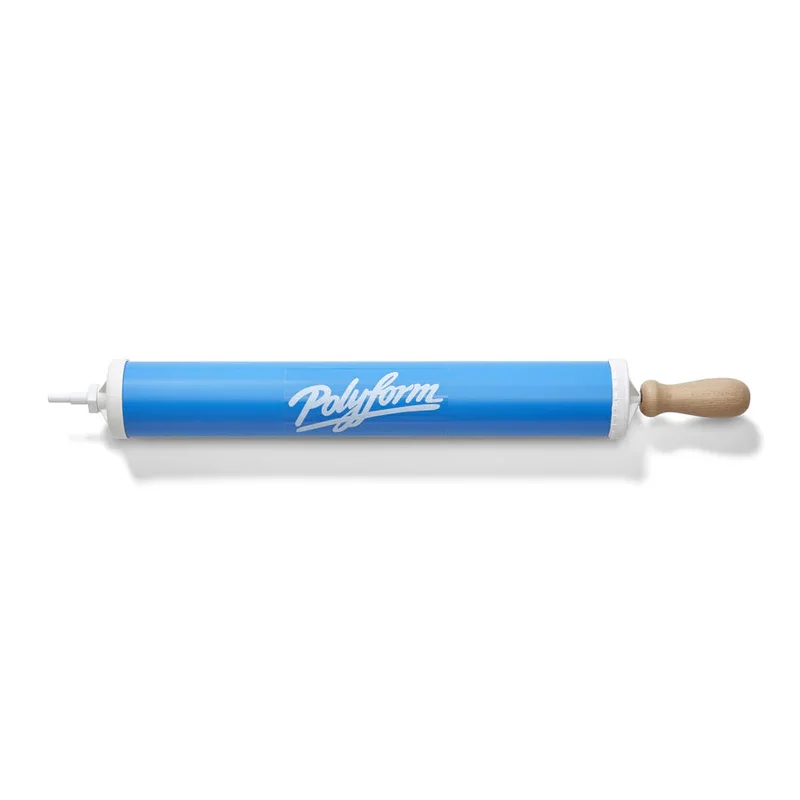
Specially designed for inflating Polyform products. High volume air pump, can also be used on other inflatable products such as air mattresses and toys.
This video will show you how to use the pump for inflating a Polyform fender.
Inflation
Polyform products have a special valve designed to handle the extreme pressure boat fenders can experience. The Polyform US valve is designed to be inflated using a standard tapered nozzle adapter. Our buoys and boat fenders should be inflated to 2.1 lbs/0,15 bar of pressure. When inflating without a pressure gauge, fill the buoy or fender until the walls are fully expanded, but make certain you can depress the wall at least 1/4 inch with light hand pressure, or measure the circumference and compare it with the inflation chart for proper pressure. Over inflation will reduce the performance of the product and may cause premature failure. Over inflation voids the warranty.
Step 1
Several types of air source may be used to inflate your Polyform products:
- Polyform # 30 hand pump
- Other hand or foot operated pumps
- Air Compressor
- Service Station Air Pump
Step 2
Remove the white plastic screw from the valve (located near the ropehold).
Step 3
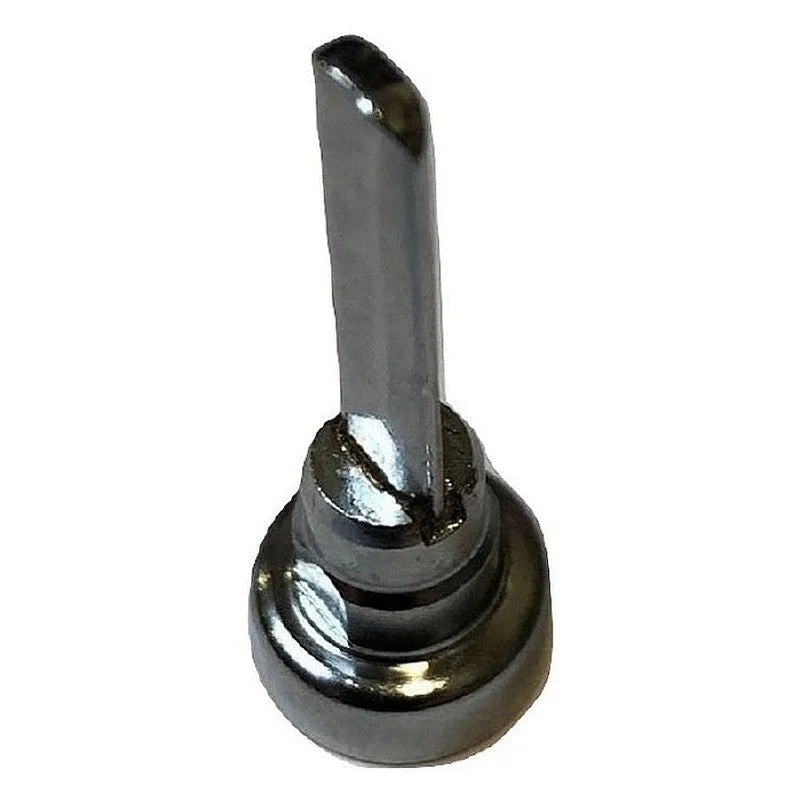
If you are using a gas station or portable air compressor, set your gauge at 2 PSI. Do not go beyond this setting. Insert the inflation adapter in the valve opening and apply the nozzle to the adapter and depress to start the air flowing. If you are using a hand or foot operated pump, insert the inflation adapter into the nozzle first. The adapter is threaded for your convenience.
NOTE: If no air can be put into the product, the convenience flap may be stuck. Insert a small blunt rod (Allen wrench, Phillips screwdriver, or stiff wire) into the valve and gently push the convenience flap open.
Step 4
Fill the Polyform fender or buoy until the walls are fully expanded, or no more than 2 psi pressure. The best way to check, without a pressure gauge, is to measure the circumference of the particular product and match the chart measurement. You should also be able to easily push with your thumb and depress the wall 1/4 inch.
Step 5
After filling the product to the correct size, remove the pump (and inflation adapter if used) and replace the white screw. Remember that you are screwing a plastic screw into plastic threads. The screw will come to a stop when the screw head is flush with the top of the valve casing. Do not force the screw past this point or damage to the valve will occur. Only when the white valve screw is completely seated in the valve as described above is the fender or buoy completely sealed.
NOTE: Do not use power drills/drivers to tighten. The torque can easily drive the screw through the valve.
MPN: 62-078-262

Reviews
There are no reviews yet.